
One of the first tutorials I wrote on Encompass Rose Design was a how-to on creating a raised watermark. That one works nicely if you just want a signature or other information in one spot, but what if you are creating reference material or providing samples of material? Here's a quick way to protect your content and still have it be serviceable as a sample.

Program: Paint Shop Pro. Mine was done in PSP 8 but it will work in any version.
Difficulty: Beginner to intermediate. The steps are not hard, but the tutorial has less explanation and fewer screenshots than I would typically do for a beginner.
Translatable: Should work in most image programs, depending on how yours handles tiling patterns.
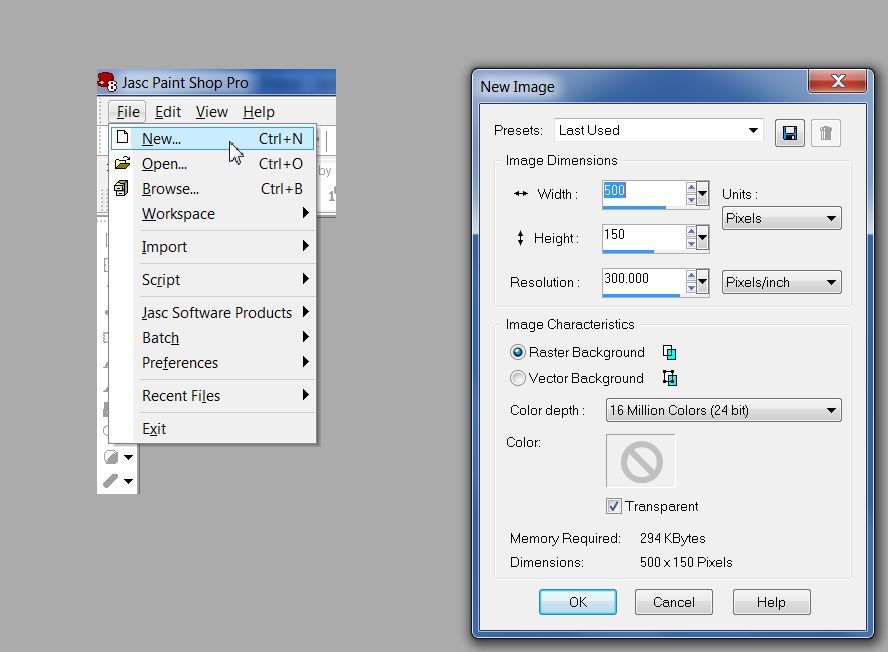
1. File>New and create a transparent document. You can make it small because you're only creating a line or two of text, but you want the resolution to be 300 px per inch because then it will match the resolution of any print quality images you're going to put a watermark on.
2. Go to your materials palette and change the foreground color to black and the background color to white. Select your text tool.
3. Type the text you want and position it in the center of the canvas. You can play around with the size of the text and positioning or add a copyright symbol if you want to. I cropped a bit around so there wasn't as much white space.
4. When you're finished, go back to your materials palette and turn off the foreground color. It was only there so you could see the white text more easily against your transparent background.
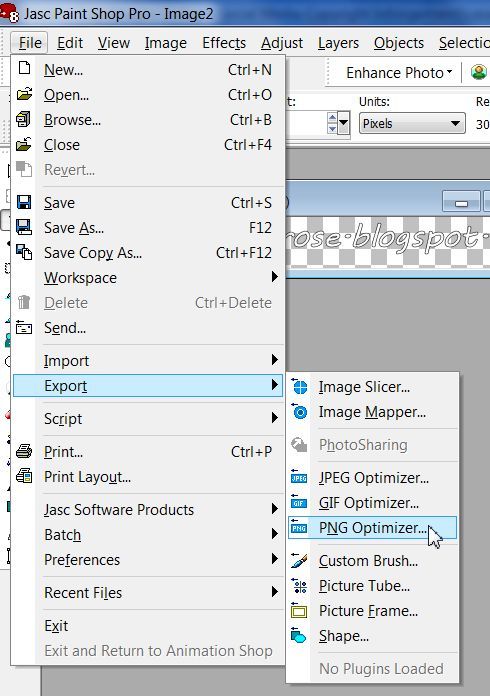
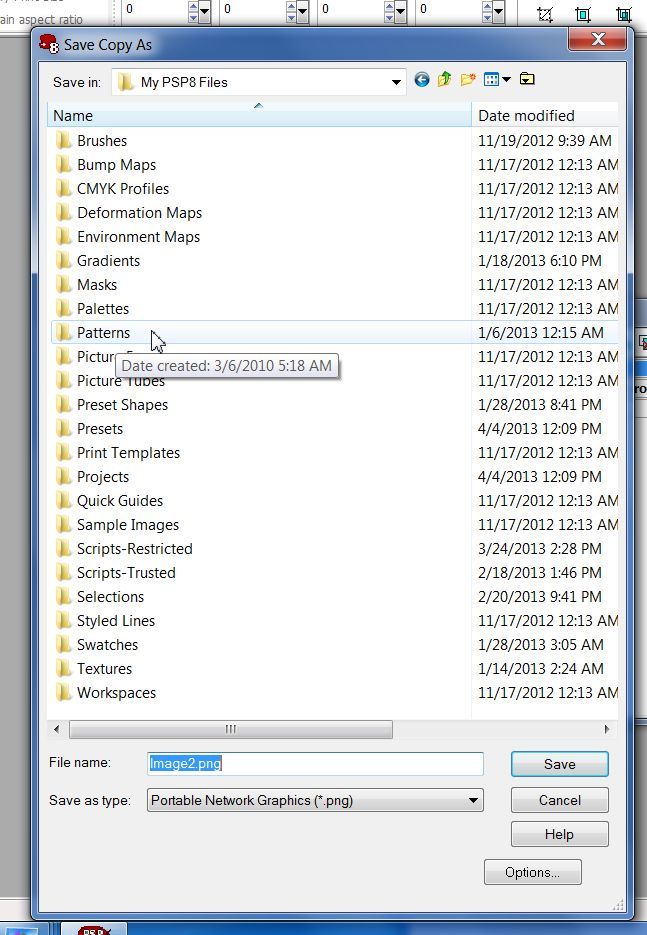
5. Go to File>Export>PNG optimzer, make sure you set it to save with a transparent backround and save your document to your PSP patterns folder.
6. File>Open and select the document that you want to add a watermark layer to.
7. Layer>New Raster Layer.
8. Go back to your materials palette and click on the foreground color square. In the window that opens, select the "pattern" tab and scroll through until you find the name of the file you just saved.
9. Now flood fill the new layer with your pattern and set the layer to soft light. If it's too pronounced, you can turn down the opacity.
No comments:
Post a Comment