
I started writing a tutorial last week on a graphic with a textured background that requires a cloud render. I realized that this could also be a stand-alone post (and it was making my tutorial really longer than I wanted) so here it is.
Method 1: Mura's Meister Cloud Plug-in
Paint Shop Pro doesn't have an easy way to automatically render clouds like Photoshop and GIMP do. In PSP 8, I often use a plug-in filter called Mura's Meister Cloud. I don't have a reliable download site for it anymore. It's really old and I don't think it's being supported by the developer. You can search google for "Mura's Cloud Filter," but I can't vouch for any of the sites it's offered on, and it won't run correctly on any of the Corel versions. So I cheat and render clouds in PSP 8 (with Mura's) or GIMP even if I'm doing the main work in PSP X5.
If you have Mura's Filters installed already and are using an older version of PSP, just create a new layer and go to Effects>Plug-Ins>Mura's Meister>Cloud. Experiment with different colors and settings until you find what you like.
Method 2: Blurry Noise
Here's a method I've worked out for PSP X5 that works almost as well and doesn't require any external program or plug-ins.
1. Create a new document flood fill your canvas with black.
2. Go to Adjust>Add/Remove Noise>Add Noise:
My settings are:
Gaussian, 100%, Monochrome checked.
Here is a screenshot
You'll just get a black layer full of white noise.
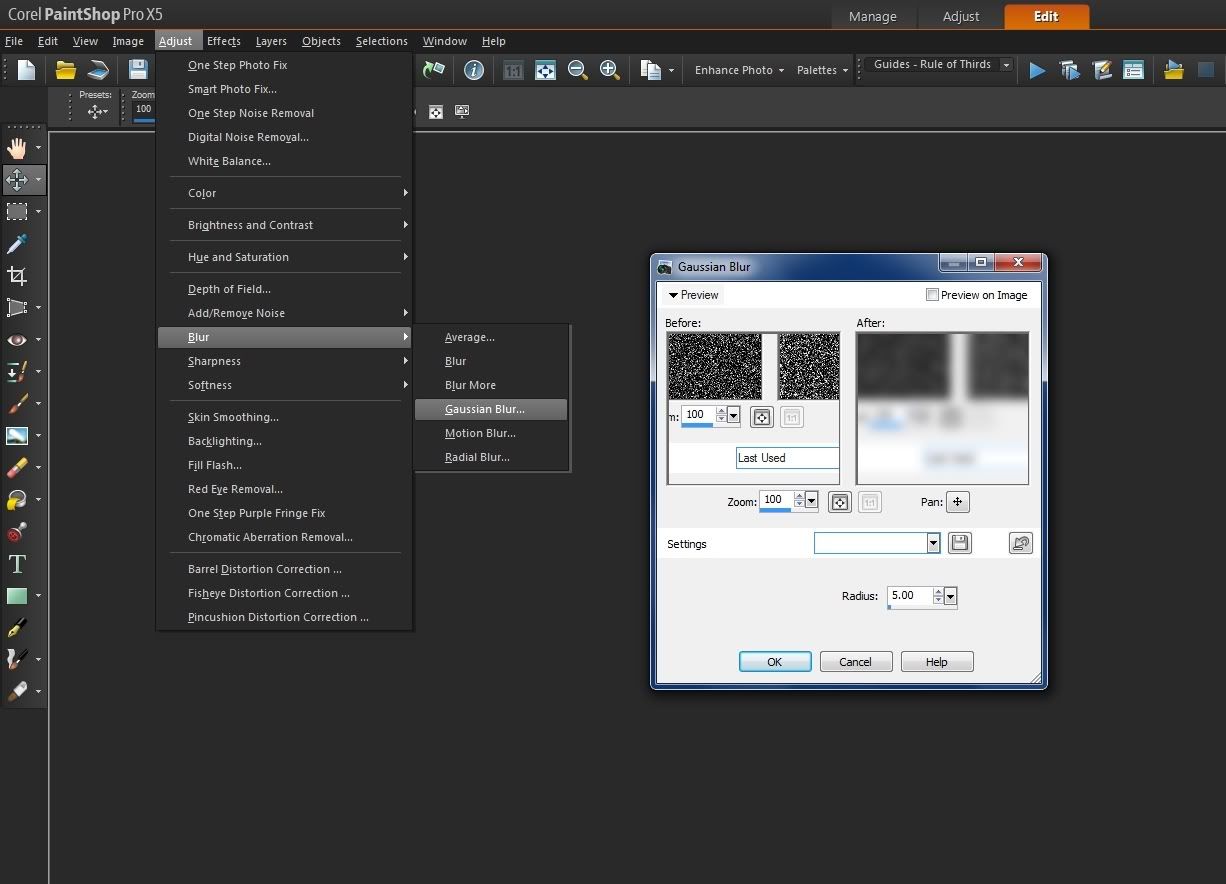
3. Go to Adjust>Blur>Gaussian Blur and set your radius to about 5. Here's a screenshot.
4. Duplicate the blurred noise layer and set it to "screen" in your layers Palette.
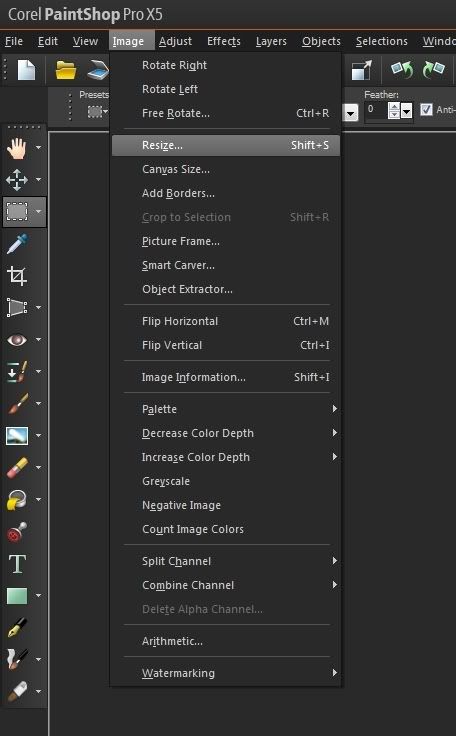
5. Go to Image>Resize and resize the duplicate by 200%. (This is the one time you can get away with that!)
6. Move the resized image a little on your canvas. It doesn't really matter where or how much; you just want to vary the texture some.
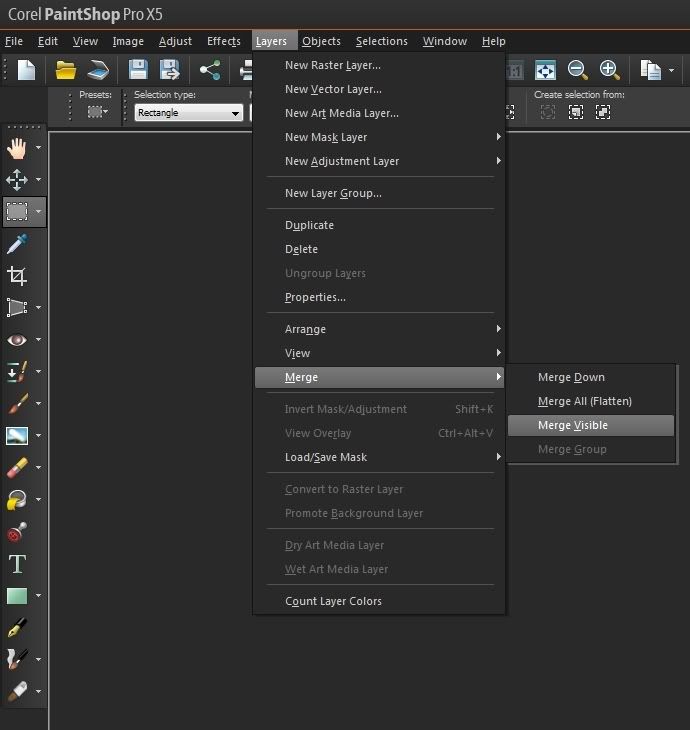
7. Go to Layers>Merge visible
8. Repeat steps 4-7.
9. Duplicate twice more and set the copies to "Overlay." Leave one at 100% opacity and set the other down at around 60.
10. Layers>Merge>Merge visible.
11. Go to Adjust>Softness>Soften.
12. Go to Adjust>Blur> Gaussian Blur with a radius of 2.00
13. Repeat steps 4-6 again. (I know, it's kind of tedious, but it gets the job done.)
14. You didn't merge layers this time, so you should have two layers in your canvas. Duplicate the top one again. Move it some more and set it to "soft light."
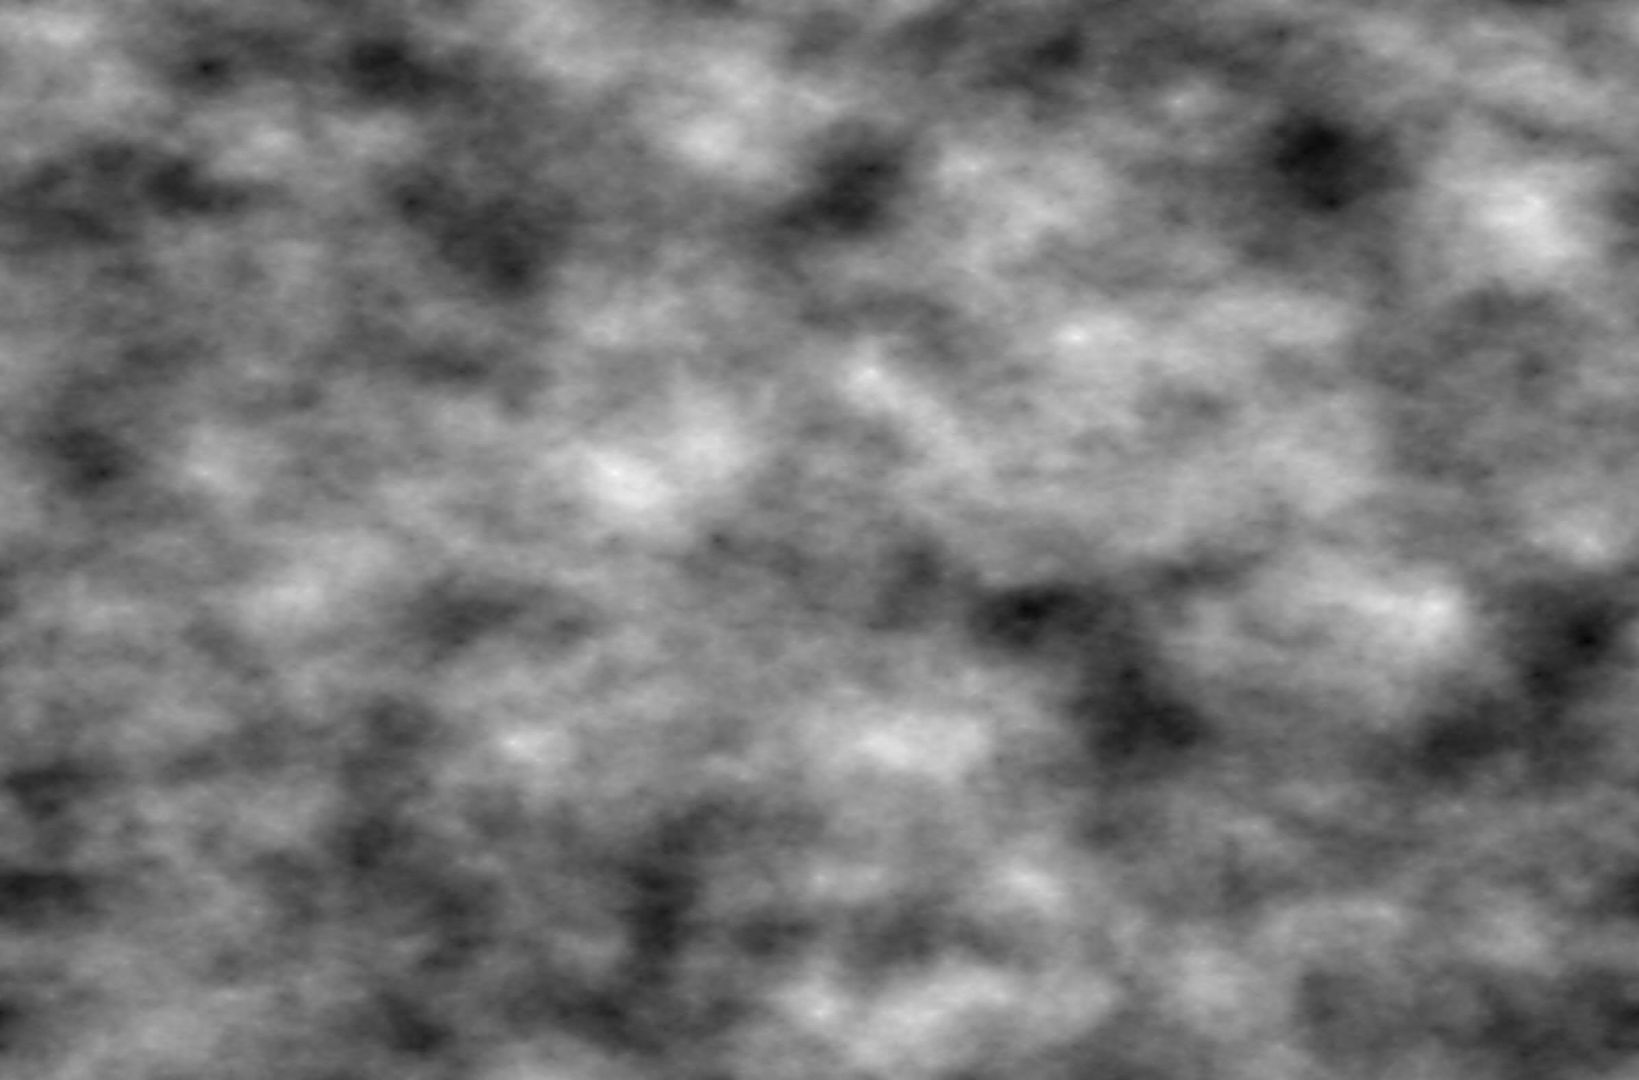
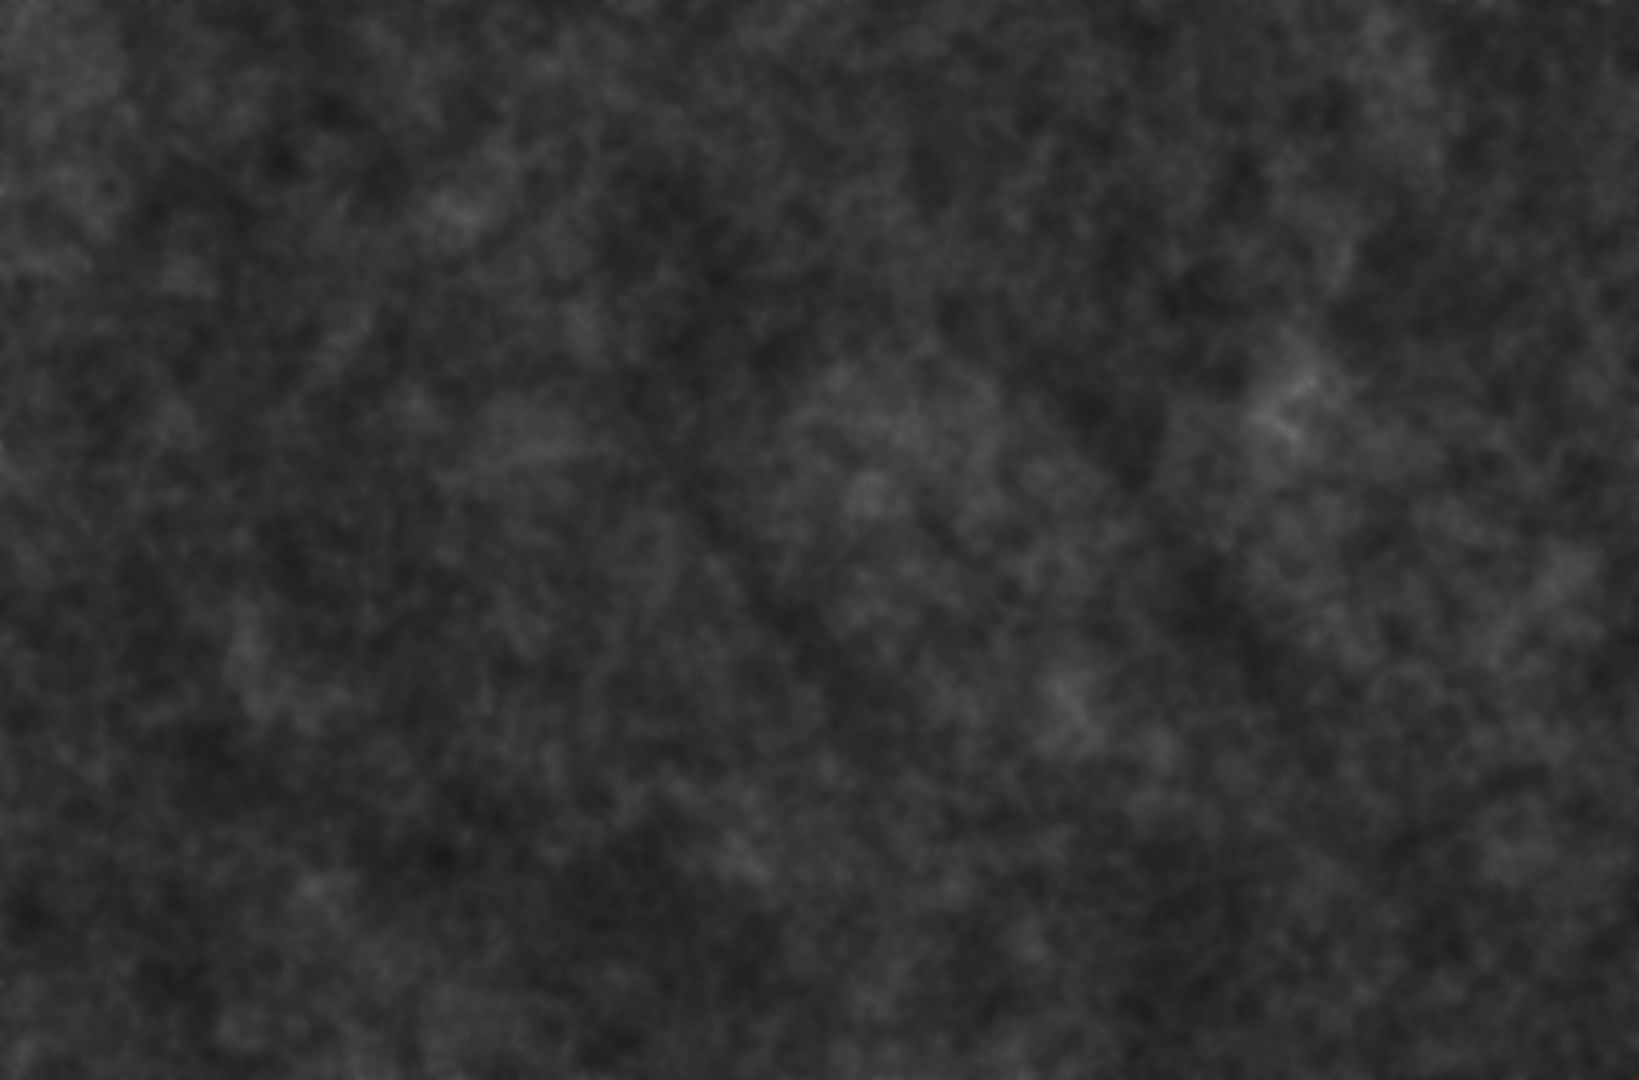
You should get this.

If it's too light or doesn't have enough contrast you can duplicate the layer again and set it to overlay. (Or go to Layers>New Adjustment Layer>Levels and push the sliders in gently until you're satisfied.)
They may not look as impressive as the Mura's Cloud renders, but when set to soft light or overlay, the effect is quite similar and they will help you add some depth and texture to your image.
Method 3: Cloud Brushes
I thought I would add this. I don't think I really need to explain how this works. It'll take a little longer, but a good set of cloud brushes can achieve the same effect. I use these, by Pharaohking on DA. (offsite link.)
Thank you
ReplyDeleteYou're welcome. (sorry for the very late reply.)
ReplyDelete