
Paint Shop Pro comes with a bunch of pre-made seamless pattern tiles. Unlike Photoshop, which uses .pat files to store libraries of patterns, in Paint Shop Pro, each pattern is stored separately. They're usually .jpg or .bmp images, and you can access them through the "Patterns" tab in your materials picker.
(See Part 1 for how to access the materials picker if you need it.)
Most of the ones that come with the program are saved at 72ppi and will look fine on a computer screen but may come out blurry or pixelated when printed. You want all the elements that you add to your image to have the same resolution as the base. I couldn't find one that really suited my project, either so I decided to make some of my own.
You can use any brush, preset shape, or font you like to create a pattern. I like to use vectors rather than brushes when making patterns for use with large graphics like this. That way I can resize, rotate, or alter it without a lot of effort, and it won't get distorted or blurry.
For this, I just used the font Heart Things, which you can download from dafont.com here.
1. Open a new document. Size depends on how large you want your pattern to be. If you want the elements spaced farther apart, choose a large size canvas (or a smaller size character.)
Mine is 1000x1000 px @ 300 ppi, with a transparent background. I chose that size simply because it would be easy to figure out where the center was. It's pretty big for our purposes; I scaled it down on when applying it to the card.
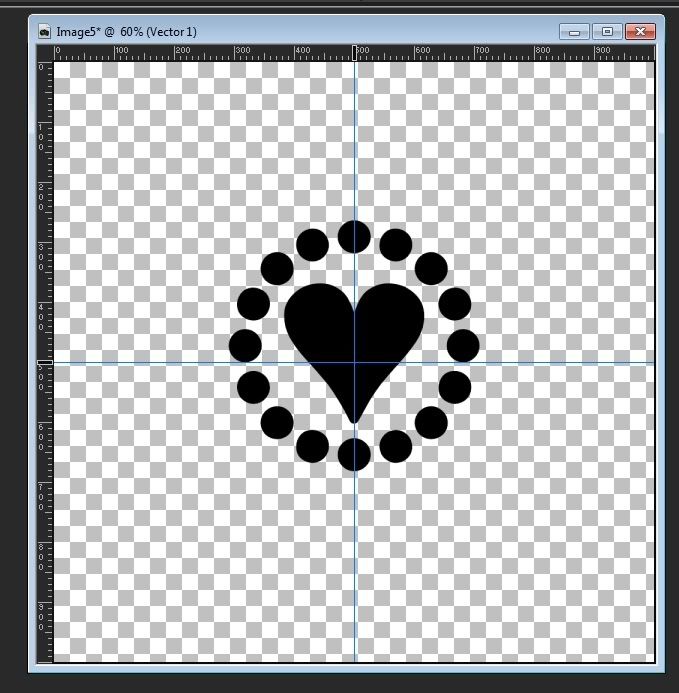
2. Draw out a shape you like (or use a brush) in the center of your canvas.
If you're sure of what color you want, go ahead and use it. I don't know yet, so I'll make my pattern black. (I'll show you how to quickly and easily change the color at the end.)
You can use the guides like in Part 1 to help you center your image if you need them.
*To change the color of your guides to make them easier to see on a black object, go to View>Change Grid, Guide and Snap Properties. Then click on the "Guides" tab. Here is a screenshot.
Here is what your canvas should look like.
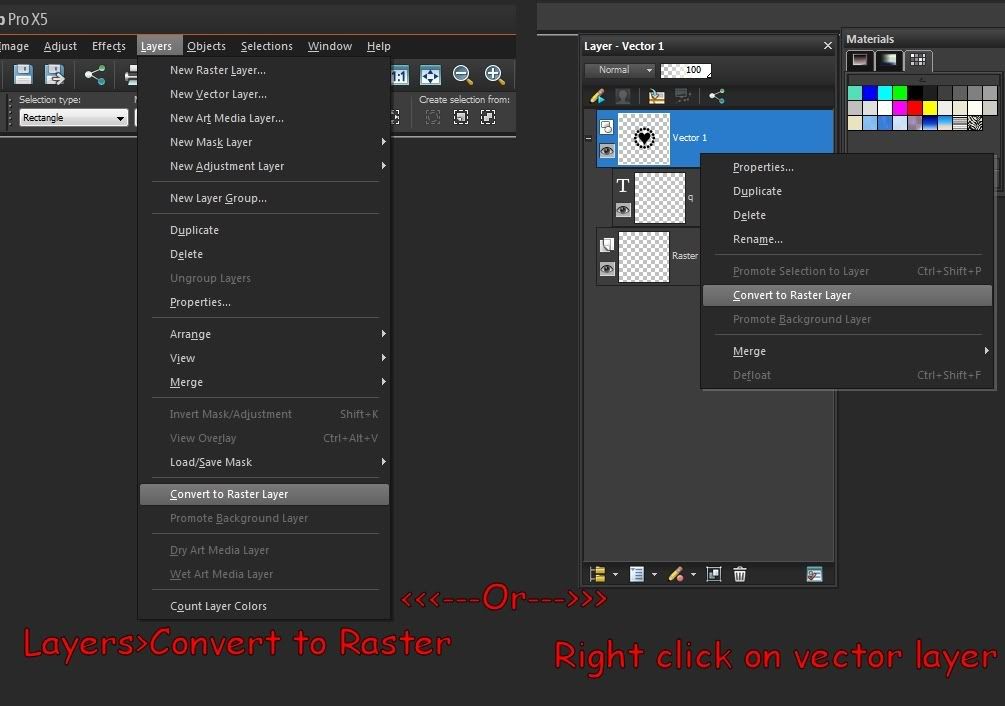
3.Go to Layers>Convert to Raster layer. You can also do this by right clicking on the layer in your palette. Here is a screenshot of both methods.
4. Duplicate the layer.
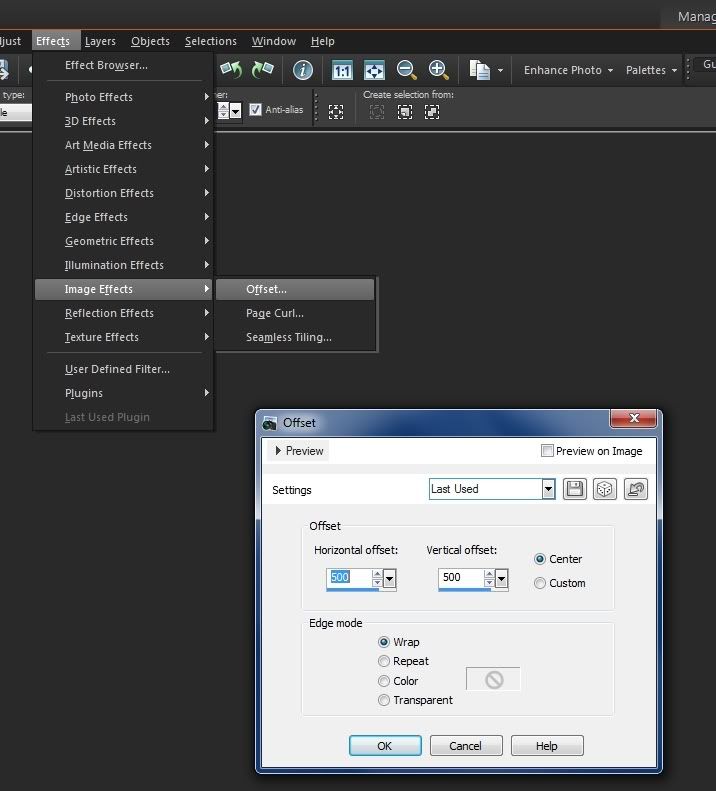
5. Go to Effects>Image Effects>Offset.
Choose:
Center
Edge Mode: Wrap
Here's a screenshot.
(PSP also has an automatic seamless tiler, but this method should work in all programs.)
6. This should give you:

You can save this tile as a .png and place it in your patterns folder to be able to use it again, or you can just leave it open in your PSP workspace until you're done with the project. Access the pattern by going to your materials palette, open the properties box, and click the patterns tab.
Here are some simple examples of how you can use this pattern on its own:
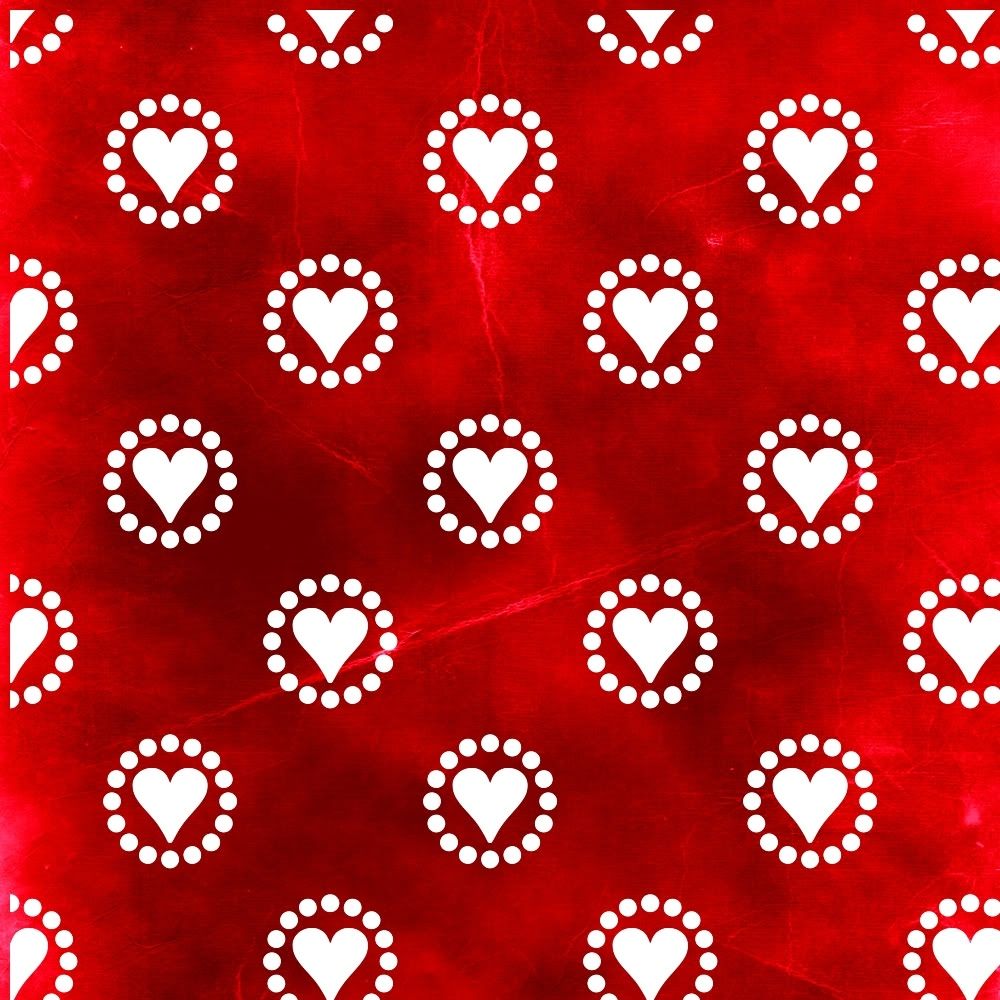
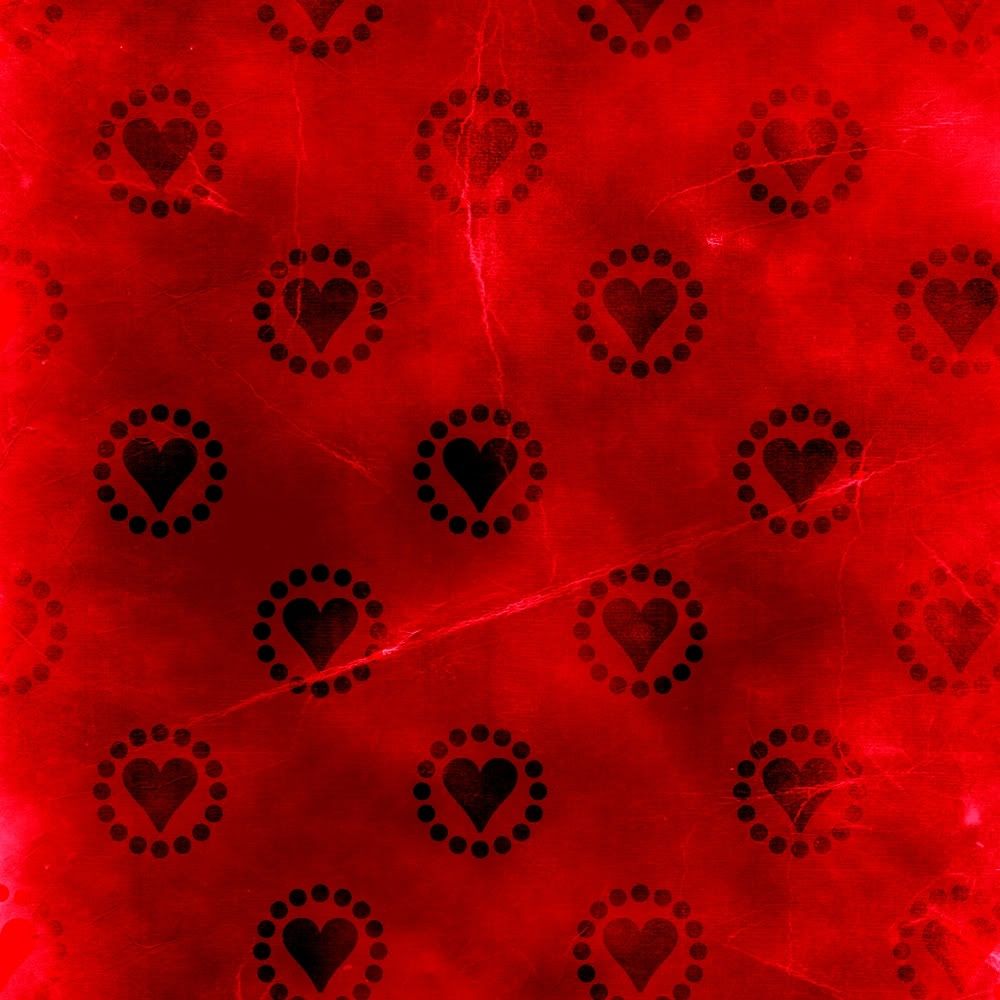

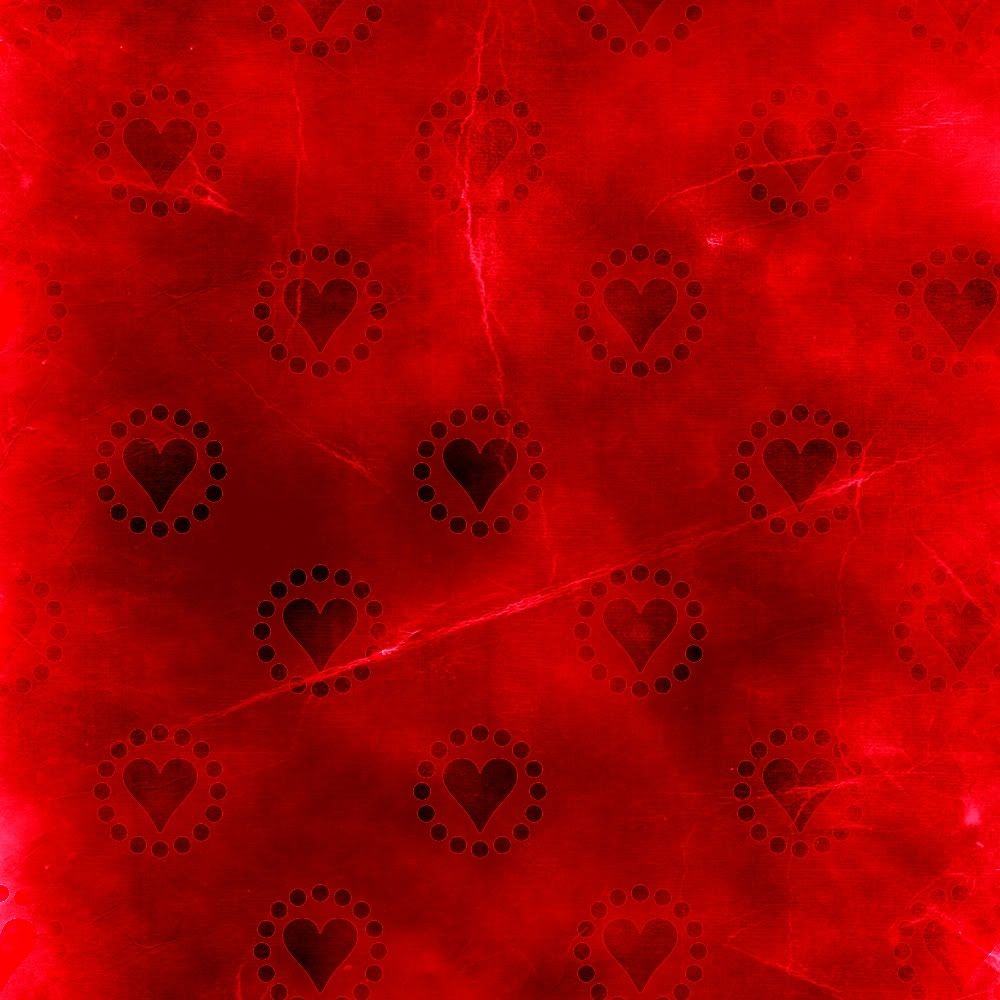
Texture base from buzzillo-stock.deviantart.com
I scaled these down for the purposes of the tutorial, but normally this would be a 12x12 background paper.
Extra Tips:
To Change the color of your pattern.
1a. Create a new transparent document and flood fill your canvas with white.
1b. Flood fill the white layer with your pattern fill.
Full sized on a 1000x1000 canvas will give you this, which I'm sure you'll notice is exactly the same as your transparent pattern except the background is solid white. This is what I would do if I wanted to just make some quick colored versions of the same pattern for future use.
Scaled to 32% on the same canvas, you get this. This is a mini version of what I would do if I was working on a project and needed a pattern fill in a color I didn't have.
2. Create a new layer and drag it underneath your black and white pattern layer. Flood fill with whatever color you want to change it to. For the purposes of the tutorial, I used #ff00ff.
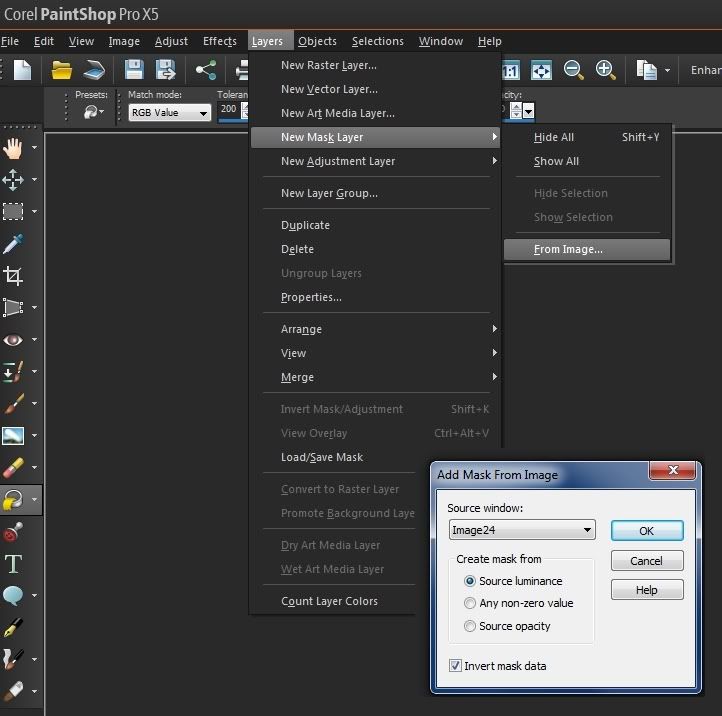
3a. With the color fill layer seleclted, Go to Layers>New Mask Layer>From Image.
The Source image dialogue box will give you a drop down list of all open images. Choose the filename that contains your black and white pattern image (should be the file you are working on.). Make sure "Source Luminance" and "Invert Mask Data" are checked.
Here is a screenshot.
3b. Turn off or delete the black and white pattern fill layer.
Here is a screenshot of what your workspace should look like (B-8) -Watch out, this one is big. I have a widescreen monitor.
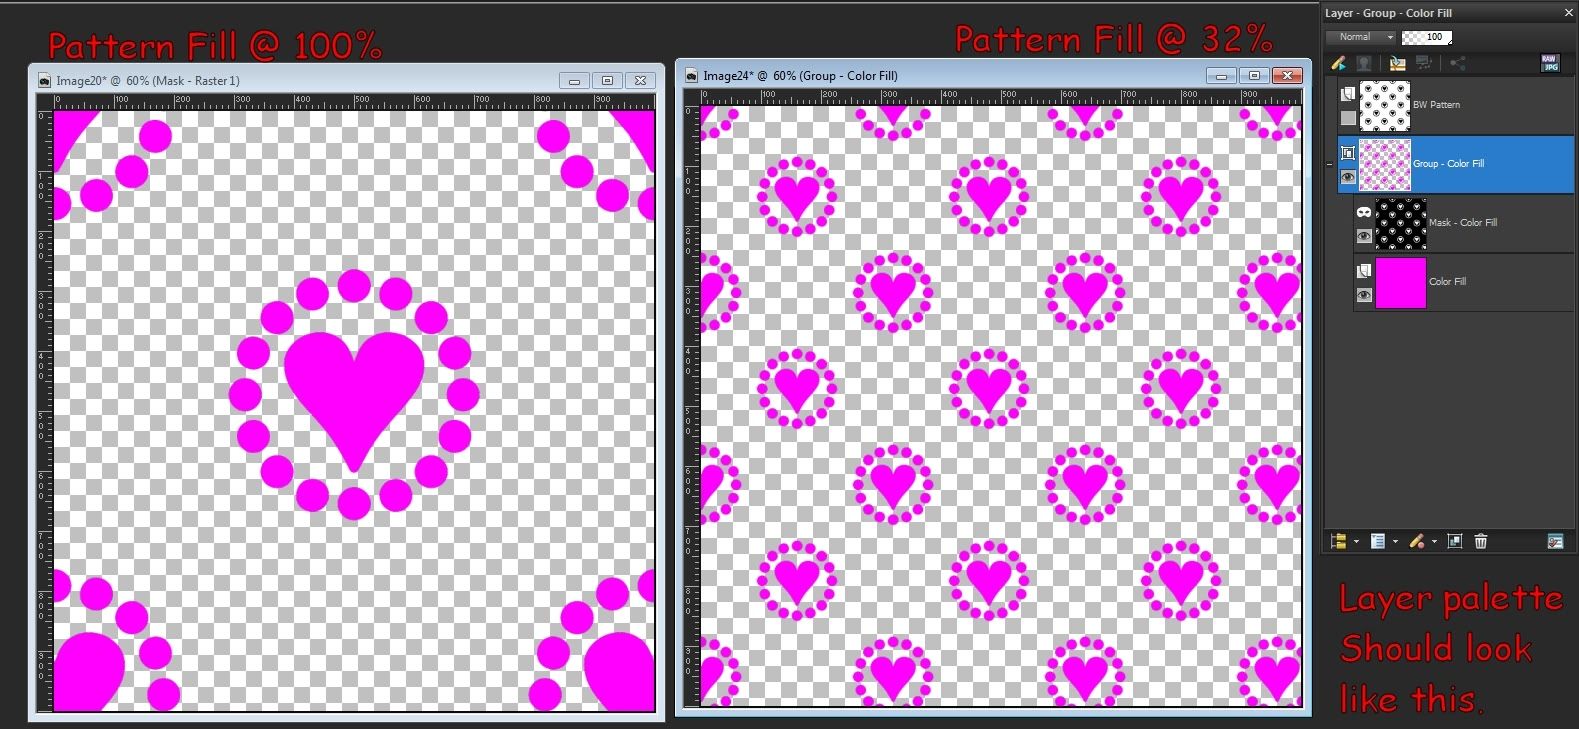
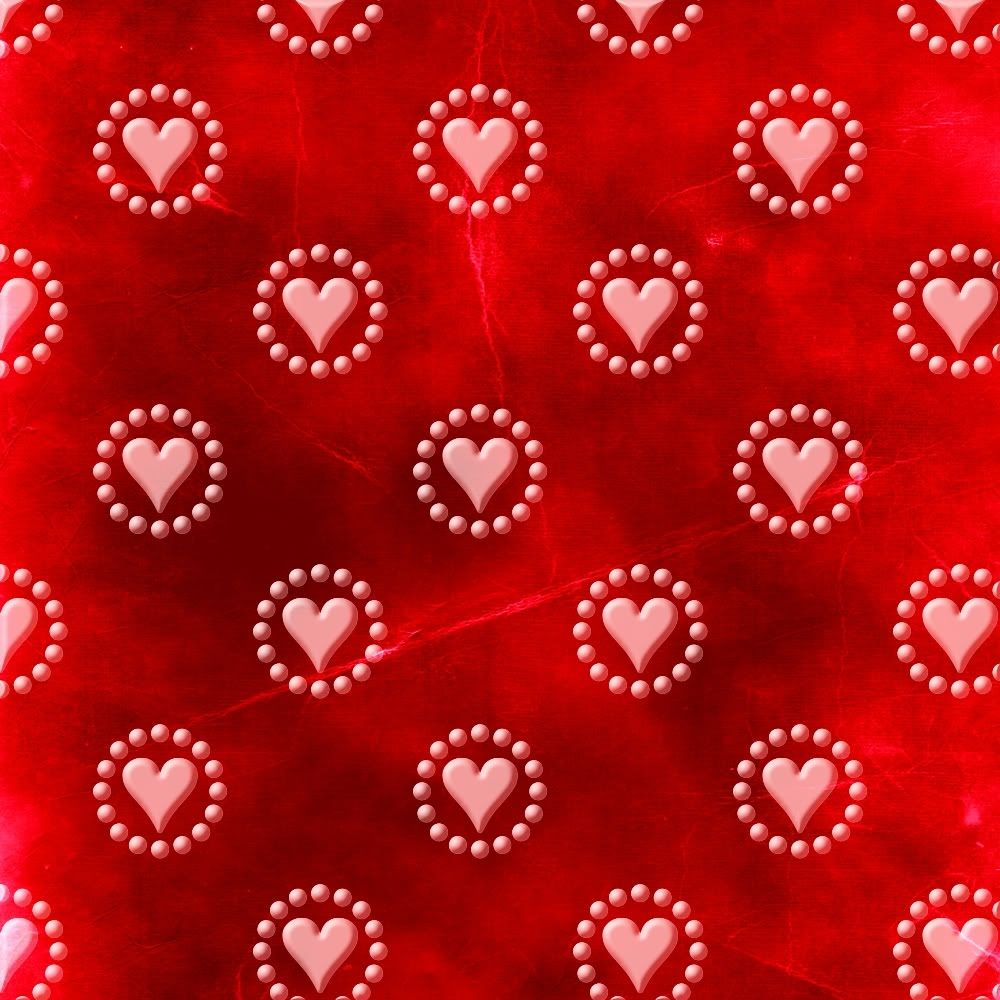
To Get a Transparent Pattern on a colored background:
Just uncheck "Invert Mask Data" in step 3a above.
Here are some examples:


The way a mask layer works is that anything black makes the layer underneath it invisible, so in this case you get a transparent background. Anything white makes the layer underneath it show through. So you get pink hearts.
10. To get a multicolored pattern, simply replace the pink layer with a gradient fill. Examples:


The gradient in these examples comes from pjentoft.com
To get a textured effect on your pattern like the ones above:
When you open the materials dialog box to choose your pattern, click the check on the texture box in the corner. Then scroll through the options until you find one you like.
Other Tile Variations:


To get these, just follow steps 1-3 above, then run the Offset Effect (Step 5).
You'll have a gap in the center of your tile where you can add a different shape or brush.


To get these, I divided my canvas in fours and placed a different character or reversed gradient in each one. They'll tile because the space in at the edges of the canvas will be all the same color.
There are a lot of other variations you can try. Mine are pretty simple because the pattern is not the focus of the card; it's an accent. Just keep experimenting and see what you come up with. Sometimes it takes a while to get a tile to look the way you want. The main thing to remember is to try to get the edges corners of the image to match up Unless you're really trying for a perfectly symmetrical pattern, you don't have to go nuts about making sure everything else is perfectly placed. Just try to get a balanced image so that it the pattern looks pleasing and not lopsided or uneven..
On to part 3, the front image.
No comments:
Post a Comment