
1. Open a new image. Your dimensions and resolution will vary depending on what you want your picture frame to look like.
I always try to make resources at a higher resolution than I expect to need. It's a lot easier to retain quality when you resize something smaller as opposed to trying to make it bigger. If you have an image in mind already, try to make your frame slightly wider, unless you intend to crop the image. For the purposes of the tutorial, I chose:
500x600 pixels
at a resolution of 300 pixels per inch.
2. Make a new layer and flood fill your canvas with white. You want to still have a transparent layer on the bottom.
If you want to, you can re-name the white layer as "base" or something so you'll remember.
*If you use PSP X5 or any other version that supports layer styles, you can use a layer style with drop shadow and inner glow and cut out most of steps 3-8.*
3. Go to selections>select all (or press ctrl+a)
4. Sections>modify>contract selection. Play around with the number of pixels you contract by. The higher the number, the smaller your frame will be and the more empty space you'll have around it. I used contract by 5.
5. Selections>invert
6. Edit> cut (or ctrl+x).
So what you should now have is a white layer with a transparent border around the edges.
7a. Use your magic wand tool to select the white portion of your canvas. You're going to add a drop shadow effect.
I like to keep everything on its own layer in case I decide to change something later. So, I create a new layer. Name the new layer "base shadow" or some else that you'll remember, then move it down under the white base layer.
7b. Effects>3D Effects>Drop Shadow. Your settings will again depend on exactly what you want the finished frame to look like, so you may have to play around and use undo a few times until you're satisfied.
*Hint: When I find settings I like, I usually save them a preset so I can use them again later.
My settings were:
Vertical offset: 1
Horizontal offset: -2
Opacity: 40
Blur: 4.33
Color: #404040
DO NOT DESELECT.
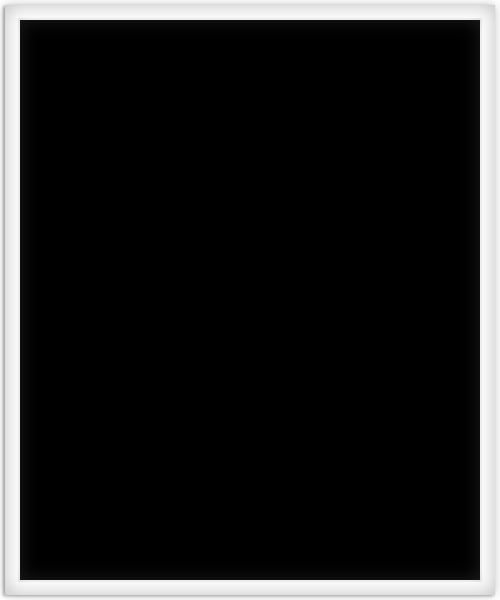
Your workspace should now look like this screenshot.
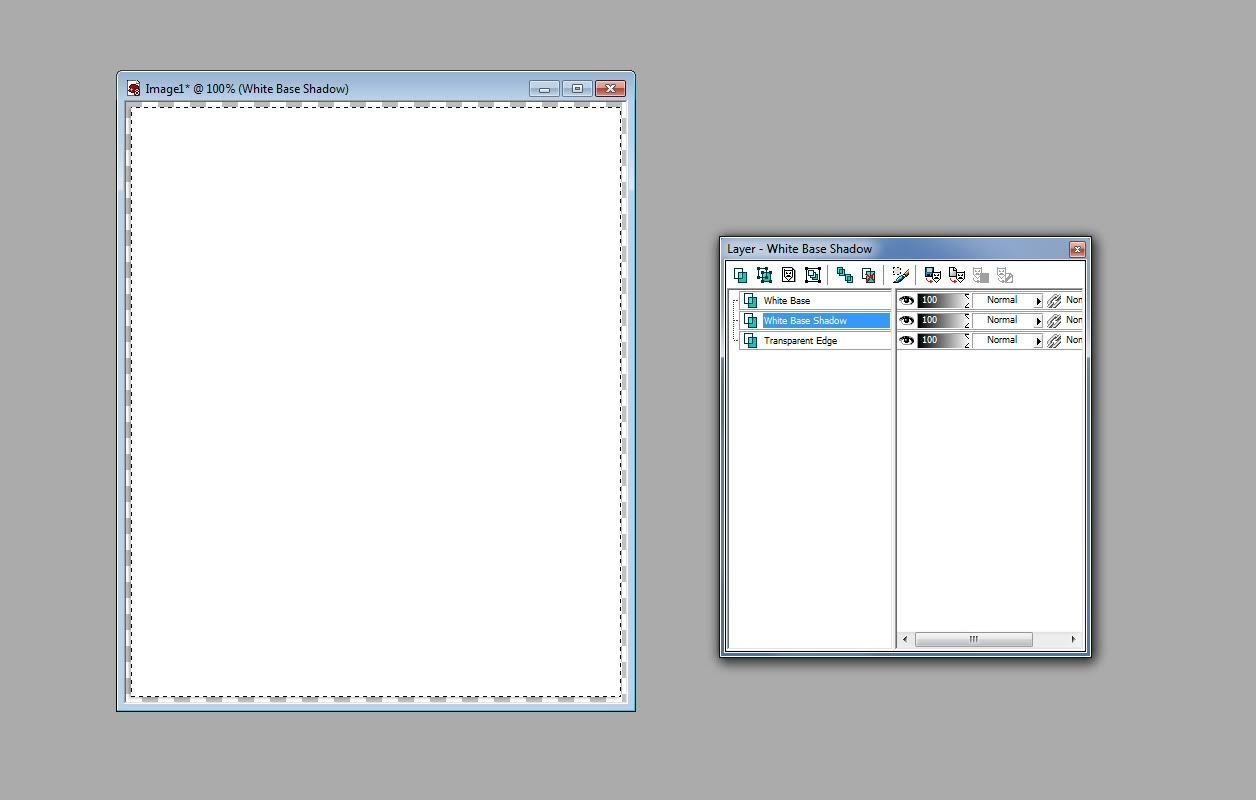
8. Create a new layer and name it "White base glow" or something else you can keep track of. With this layer highlighted in your layers palette, go to Effects>3D Effects>Cutout. You want something with a soft edge, zero offset, and a low to medium opacity.
My settings were:
Vertical offset: 0
Horizontal offset: 0
Opacity: 25
Blur: 30
Shadow color: #404040
Fill Interior with color not checked.
Increasing the blur amount is what gives you a softer edge; if you do that with a 0 offset, the cut-out is directly above your selection and will look more like a glow than something that's been cut out.
And your workspace should now look like this screenshot. It's very similar to the first one, but there's a slight glow around the edges.
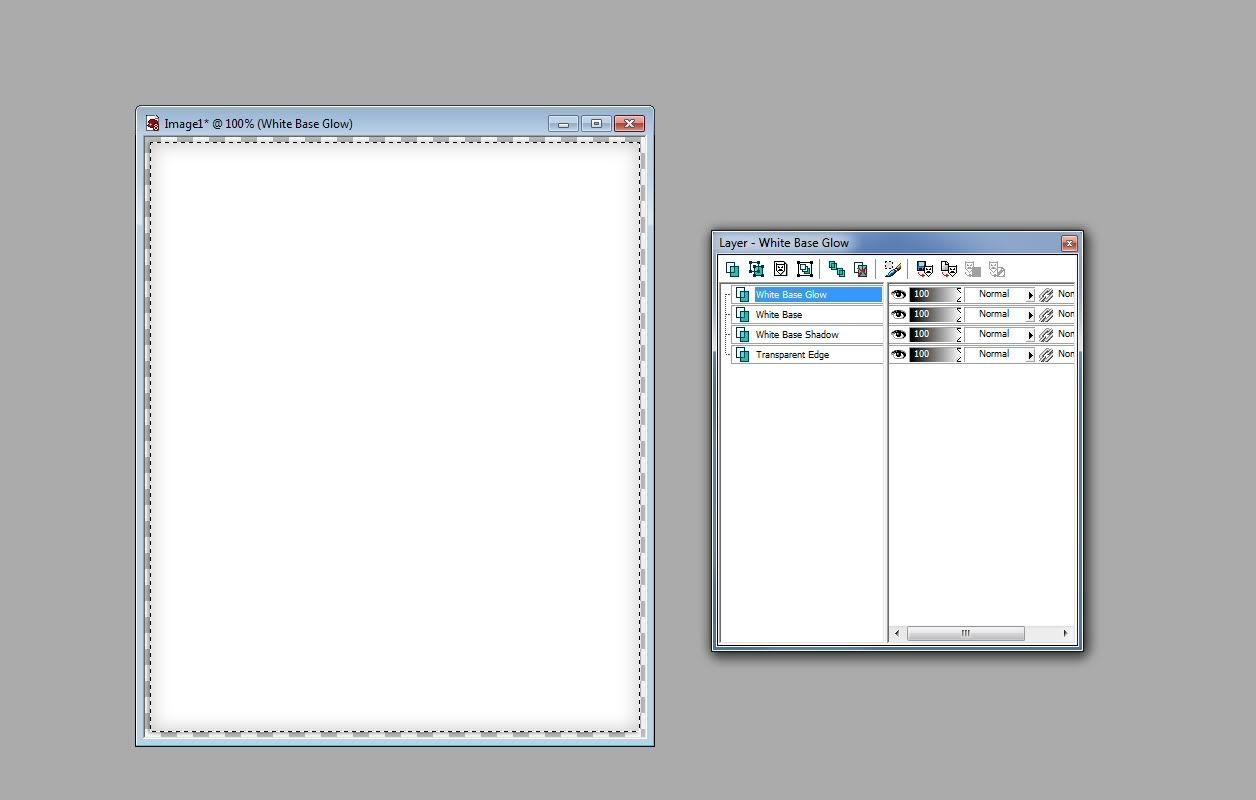
*Some people can just "eyeball" the next step and create a rectangular that's even without a lot of trouble. If you can, great. I can't. The way I'm showing you will ensure that your edges remain even and correctly lined up*
9a. Go back to Selections> contract. I contracted by 15.
9b. Create a new layer; name it "black" and then flood fill with black. What you'll have is a big black rectangle with a white edge around it. Don't worry, it'll look like a polaroid in a second.
10. Go to the raster deform tool (the "pick" tool in later versions) and bring the bottom edge of the black rectangle up until you have it where you think it should be. I put mine up about a third of the way from the bottom.
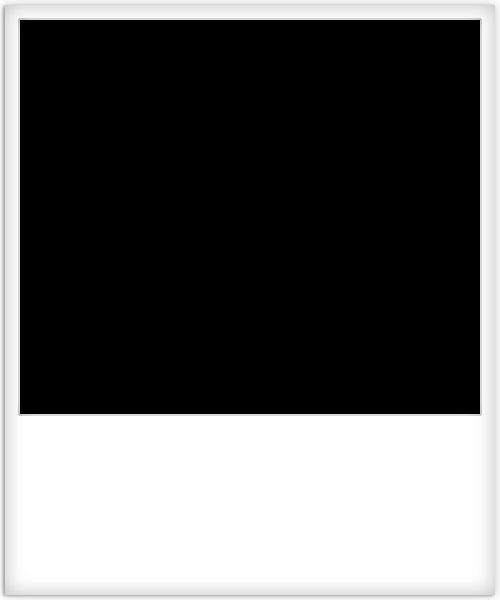
Your workspace should look like this screenshot.
Many people stop there with these, so if you are satisfied, save your frames (either as .png or .psptube files) and go on to part 2. To me the frame doesn't have quite enough depth. Real polaroid film has an edge between the white paper and the image. To add one, I used the cutout effect again, but this time with a slight offset.
11a. Use your magic wand tool again and select the black rectangle. Now create a new layer, but do not deselect. Call the new layer "cutout edge" or something else you'll recognize.
11b. Go to Selections>Modify>Expand. Choose between 1-3 pixels. You don't want this to be huge. I expanded by 2.
11c. Go to Effects>3D Effects> Cutout.
My settings were:
Vertical offset: 1
Horizontal offset: 1
Opacity: 50
Blur: 40
Shadow Color: #808080
Fill Interior with color not checked.
Now set this layer to multiply in your layer palette. I didn't think it was quite pronounced enough, so I duplicated the multiply layer and set the opacity of the duplicate down to about 50 %.
So now you have a basic polaroid frame that you can use as is or add various effects to.
-To age the frame, you can use an old paper texture set to overlay on a low opacity.
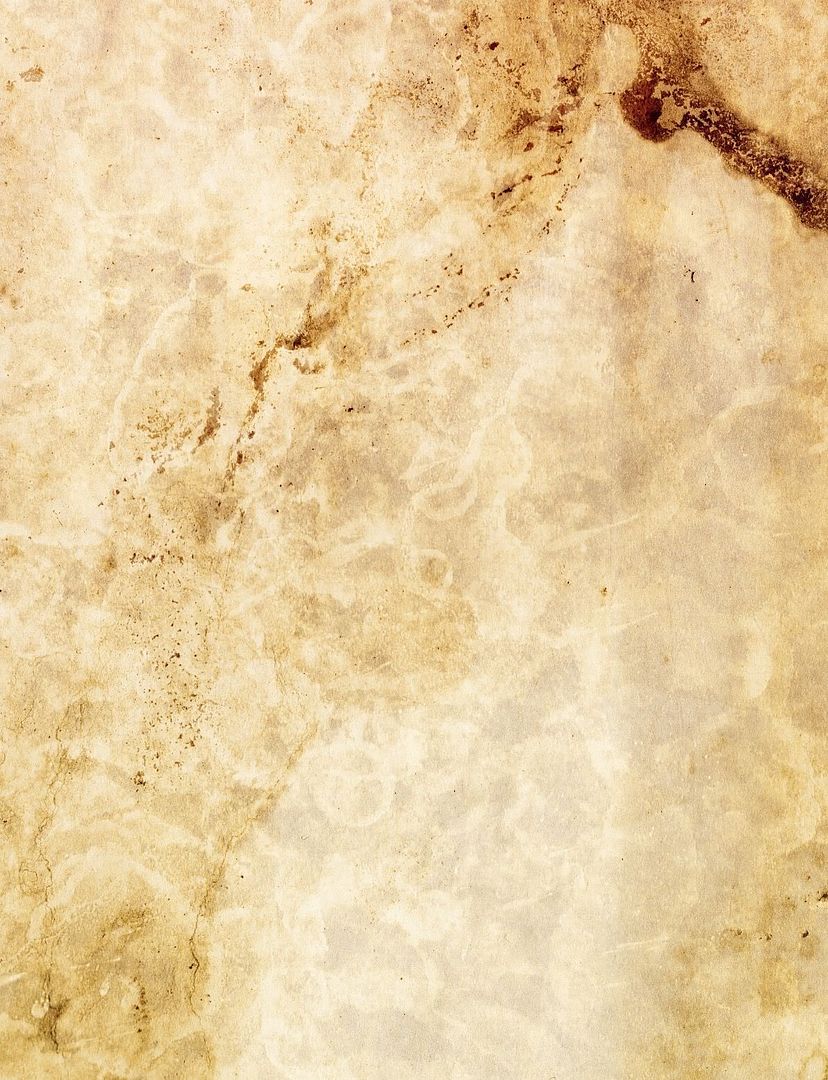
-To add smudges, you can use a soft rectangular brush at a medium opacity.
-To add lines or scratches, you can use a small circular brush (1 or 2 pixels) on a low opacity.
-If you have scratch brushes or a scratchy texture, you can apply them to the black area of the frame as well.
-You can simulate the look of a permanent marker on the frame by using a small round brush with the density at about 95 and hardness at 70-75.
Remember to save the frame as a .png file with a transparent background. You'll have a small transparent edge around it, but that way you drop shadow effect will be preserved and you can use the frame later for stacking.
To do that go to File>export>PNG optimizer. Click the "Transparency" tab and choose alpha channel transparency and existing layer transparency.
You can also save them as Paint Shop Pro Tube Files. A tube works basically like a rubber stamp. It keeps a copy of your image on a transparent background so that you can use it in other projects.
To save as a tube, you need to merge your layers so that there is only a frame and a transparent background. The tube won't save right if you have more than 2 layers.
Then go to File>Export>Picture Tube and follow the prompts in the dialogue boxes.
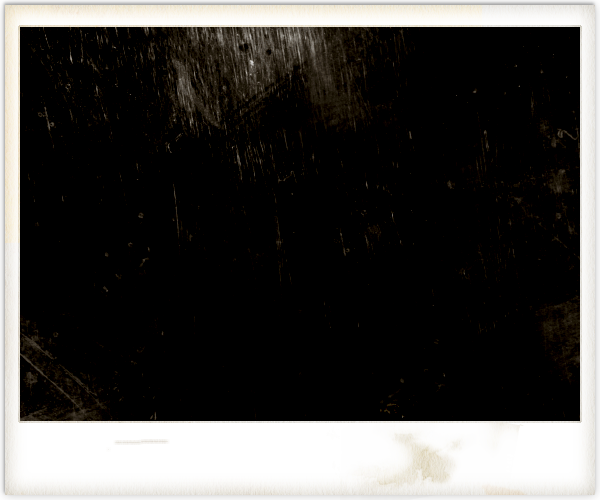
Here are some examples of finished polaroids.
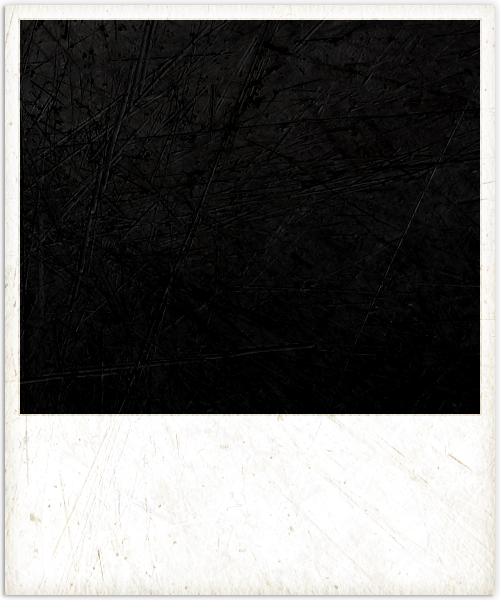
Notes:
*If you use PSP X5 or any other version that supports layer styles, you can use a layer style with drop shadow and inner glow and cut out the work in steps 7-8.
*A lot of people just eyeball the rectangular selections, (steps 3 and 9) so if you're comfortable with that, go for it. The way I'm describing is easier for me because I'm sure the edges stay even.
*If you don't want to have a drop shadow on your empty frame, just skip steps 4-7. You'll have to add shadows in manually later when you're stacking the frames though.
No comments:
Post a Comment