
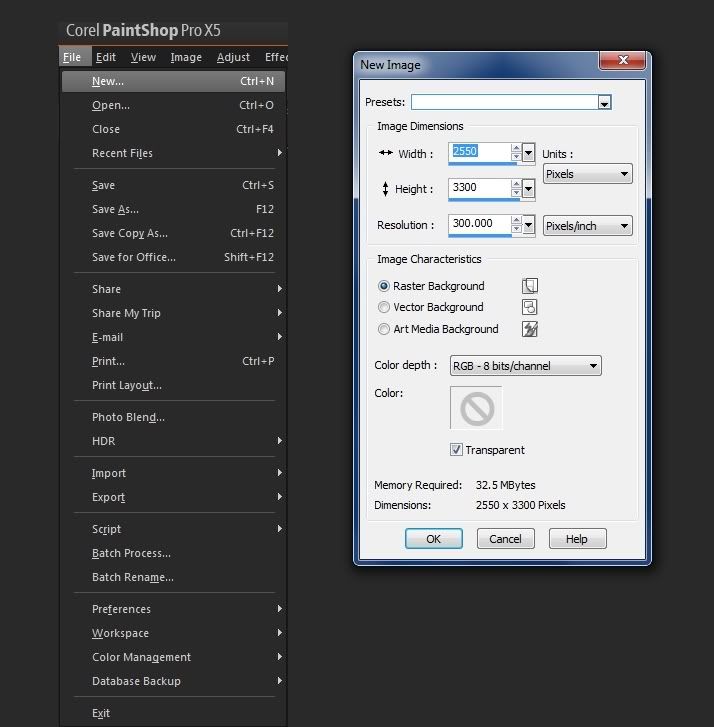
1. Create a new document. File>New with these settings:
Width: 2550 px.
Height: 3300 px
Resolution: 300 pixels per inch.
Menu Screenshot
This will give you a document that is 8 1/2 x 11 inches. We're going to divide it in half to make the front and back of a card. When folded, it will fit in an A-9 envelope for mailing.
This card will be horizontal (landscape orientation.) If you want a vertical (portrait orientation) card, then reverse the width dimensions.
*Note: There are lots of other sizes you can choose. The methods I show you will work the same way. I picked this size because it's easy to print and fold.
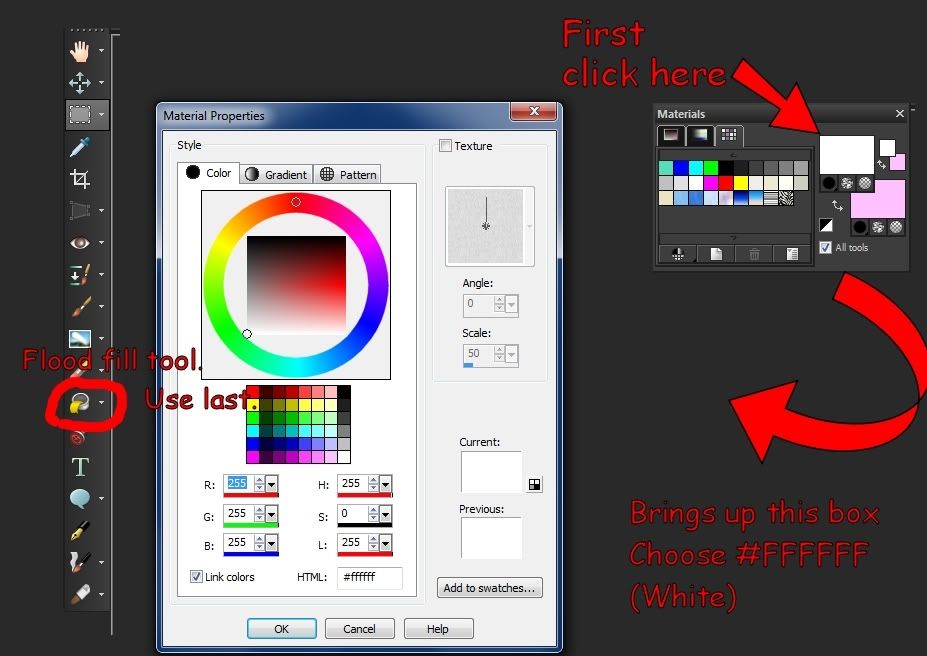
2. Flood fill your background layer with white.
*If your materials palette is not up, press F6 on your keyboard to bring it up, then click on the foreground color to change it. Screenshot.
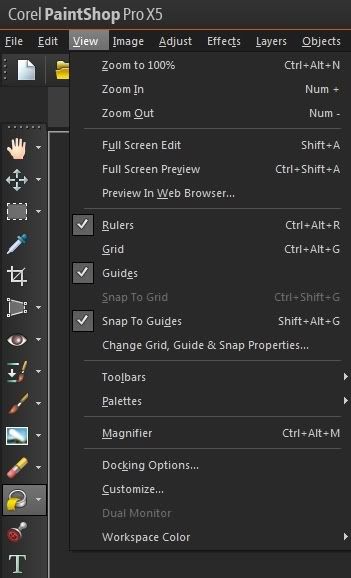
3. Go to your view menu at the top of the workspace and turn on your rulers and guides. I also turn on the "Snap to guide" feature because it helps me with making selections evenly; use it if it's helpful, but if you find it annoying, it's not really necessary.
We're going to use the guides to establish the front and back areas of the card and make sure we know where it's "safe" to add artwork, since we don't want anything important to be cut off in printing.
*If you are not familiar with using guides, they're basically a straight edge that the computer will draw across your canvas. They won't show up in your final image at all; it's just a way of helping you line things up.
Here's a screenshot of what your view menu should look like.
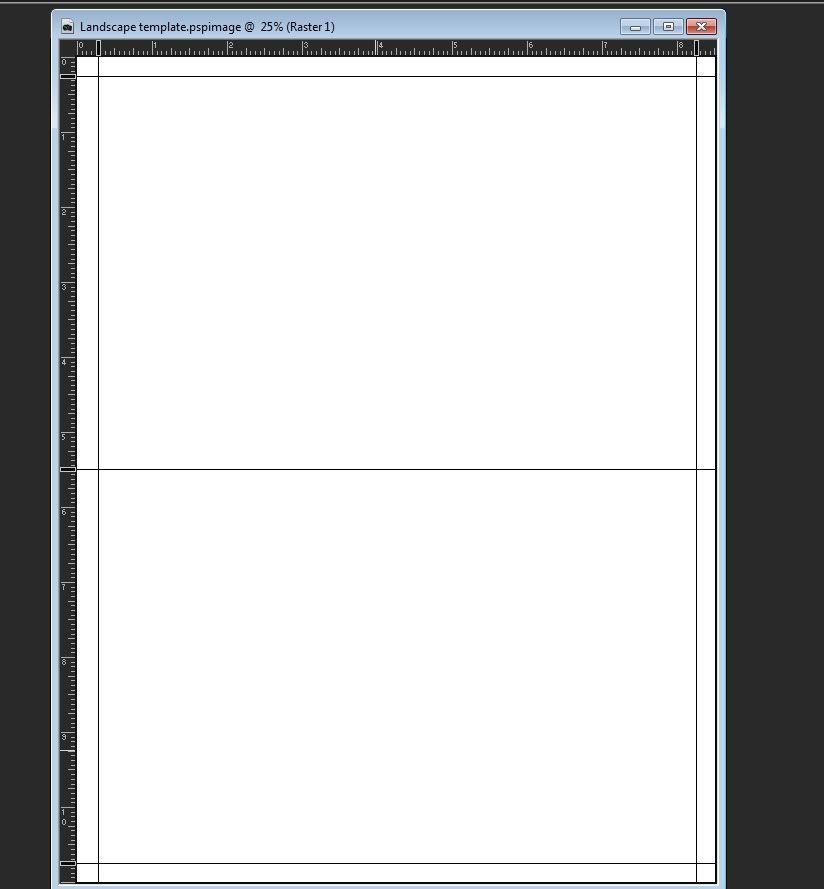
4. Add your guides.
First put your cursor at the edge of your document where the rulers are. Click and drag to the center point of the image. If you want a horizontal (landscape) card, you need to start your cursor at the top of the page to get a horizontal guide line. For a vertical (portrait) card, start at the left edge and drag out to the center.
Drag out four more guides. One at the top, one at the bottom, and one at each side. If you're going to have your card professionally printed, you will want to check with the printer's specifications. For a home-made card, I just usually mark off about 85 px from the edge of the canvas.
*You have to start from the top or the left edge each time; it doesn't work if you try to drag a guide up from the bottom or in from the right.
Here are screenshots of my canvas with the guides in place. (The reason the guides show up is that these are pictures of my screen; if I rendered the image as a .jpg it would just be a blank sheet of paper.)
Landscape
Portrait
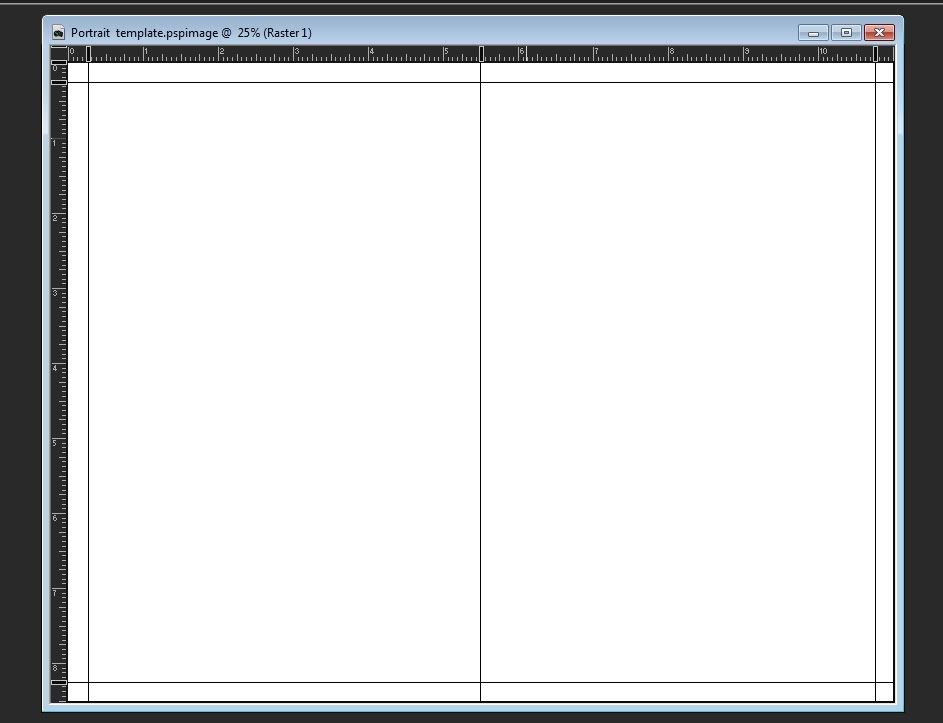
5. Optional: Use a small square brush (about 4 or 5 px) to draw a line through the center guide. This will give you a guide line for folding your card. To make sure you get a straight line:
Line up your brush with the ruler.
Click once on your canvas. Hold down your shift key and move the mouse to where you want the end of the line. Make sure you are still lined up with the original mark and click again.
You can erase the middle section of the line in PSP and then trim the edges of the card so it doesn't show when you print.
Save your template as a .pspimage now. That way, whenever you open it again, the guides will be in place for you.
Here are some simple .jpg templates based on the .pspimages. You can use your magic wand tool to select and edit out the beige/gray areas. *Note, for some reason especially in the thumbnails, the center line appears to be off, so I had someone else check for me because I thought I was going nuts. They are centered, though I'm not sure what's up with that.


And there you have it. On to part 2, creating a seamless pattern. Your if you have some that you want to use already, you can skip to Part 3.
No comments:
Post a Comment