
What kind of background will depend on the style of collage you're making. A grungy background is usually done by layering a few textures and adding some brushes as embellishments. I think a composite like that would be a tutorial in its own right. If there's enough interest, I would be okay doing it, but for right now I'm just going to show you a simple way to make a wood grain background, and then I'll show you how to turn your frame .pngs from part I into a stack of pictures.
1. Create a new image. Size will depend on the project you're doing. I usually work at a high resolution so I can resize at the end without losing quality.
2. In your materials palette, choose a medium to dark brown background color. Mine is #58260A. Then choose a tan foreground color that you think will compliment the background. Mine is #BF9C7F. When you select your foreground color, check the box on the side where it says "texture." Then click on the texture panel and scroll down to one of the wood patterns. I used "woodgrain" near the bottom; there are a couple of others that would work as well. Set the angle to 90 degrees.
3. Select your paint bucket tool and right click to flood fill your canvas with the dark brown background color. Then on the same layer, left click to flood fill with the tan wood texture. Duplicate this layer and set the duplicate to overlay.
* You can also achieve woodgrain effects with a lot more options to play around with by going to Effects>Texture Effects>Texture. The way I'm showing you is just one method and isn't the best if your goal is to create a realistic, high quality wood texture. For our purposes, it's fine since the background is not the focus of the project.
Your canvas should now look like this screenshot.
4a. If you saved your polaroid frames as PSP tubes like a smart person, the next step is really easy. All you have to do is select your tube tool, pick your polaroid tubes from the drop down list, change the scale to fit the size of your current project, and add some to the canvas. Be sure add each frame to a different layer so that you can move them around and change positions if you want to. Also, change the rotation of the tubes so that polaroids are at different angles.
4b. If you didn't save your polaroids as tubes (like me) you'll need to open your .png files in paint shop pro. Copy each .png file and choose "paste as new layer." Then use your raster deform tool ("pick tool" in later versions) to scale and rotate the frames so you end up with a nice stack.
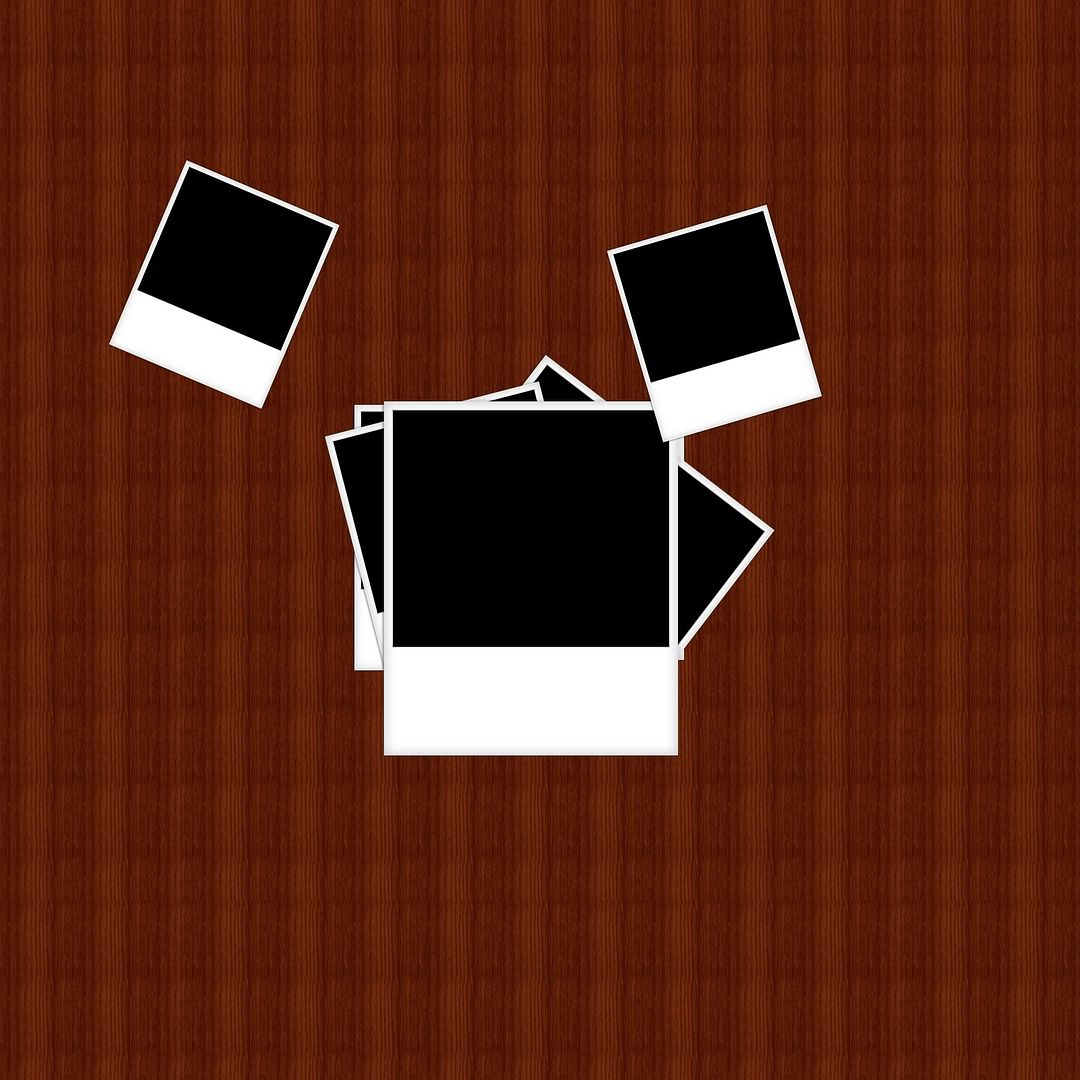
All you really need is two or three png frames. Duplicate the layers, rotate the duplicates, and place them so that the photo frames overlap. There's no set way to arrange them, but I have found by experience that it's easy to go overboard, so don't try to put too many. Once you're done, you should have something like this image.
DON'T MERGE YOUR LAYERS.
5. When you have the pictures you want to use, open them in PSP. I'm just using some stock photos, which you can find here.
You're going to turn the visibility of your frame layers off so that only one is visible at a time. Then paste a photograph as a new layer under the visible frame. Set the frame layer to "screen," and now you can see what part of the photograph is visible inside the frame. Resize and rotate your photograph until you have it in the position and scale that you like.
*Some people like to add one frame at a time, then add a picture, crop it, and repeat until they have all the pictures added. The reason I do the frames first that I get confused and I find it's easier if I have the frames placed first so I can see the whole shape before I add photos, but it's really up to you
6. Now select the frame layer in your layers palette and use the magic wand tool to select the black area. (Note: The black is not visible with the layer set on screen, but the magic wand will still select it.)
7. Highlight the photograph layer in your layers palette. Go to Selections>invert and then Edit>cut to crop the photo.
8. Repeat this process for as many of the frames as you want. (If you want to, you can "cheat" and use different parts of the same picture in multiple frames. Since no one knows what the original images are except you, it probably won't matter. There's also a collage technique that is based on doing just that--where you take one photograph and crop various parts into polaroid frames to create a composite--but for this tutorial my goal was to create the illusion of a stack of pictures.) Also, the angle of the frame and the picture don't have to be exactly the same. How often do you hold a camera at a weird angle to snap a family photo?
Note: I have seen scrapbook designers and other stock providers offer .jpg or png images that are "blank" collages like this. To add pictures, you would use the same method but either cut out the black frame or place the photograph over it. I find it more tedious that way (greater chance for error) so I normally would make an empty frame myself first.
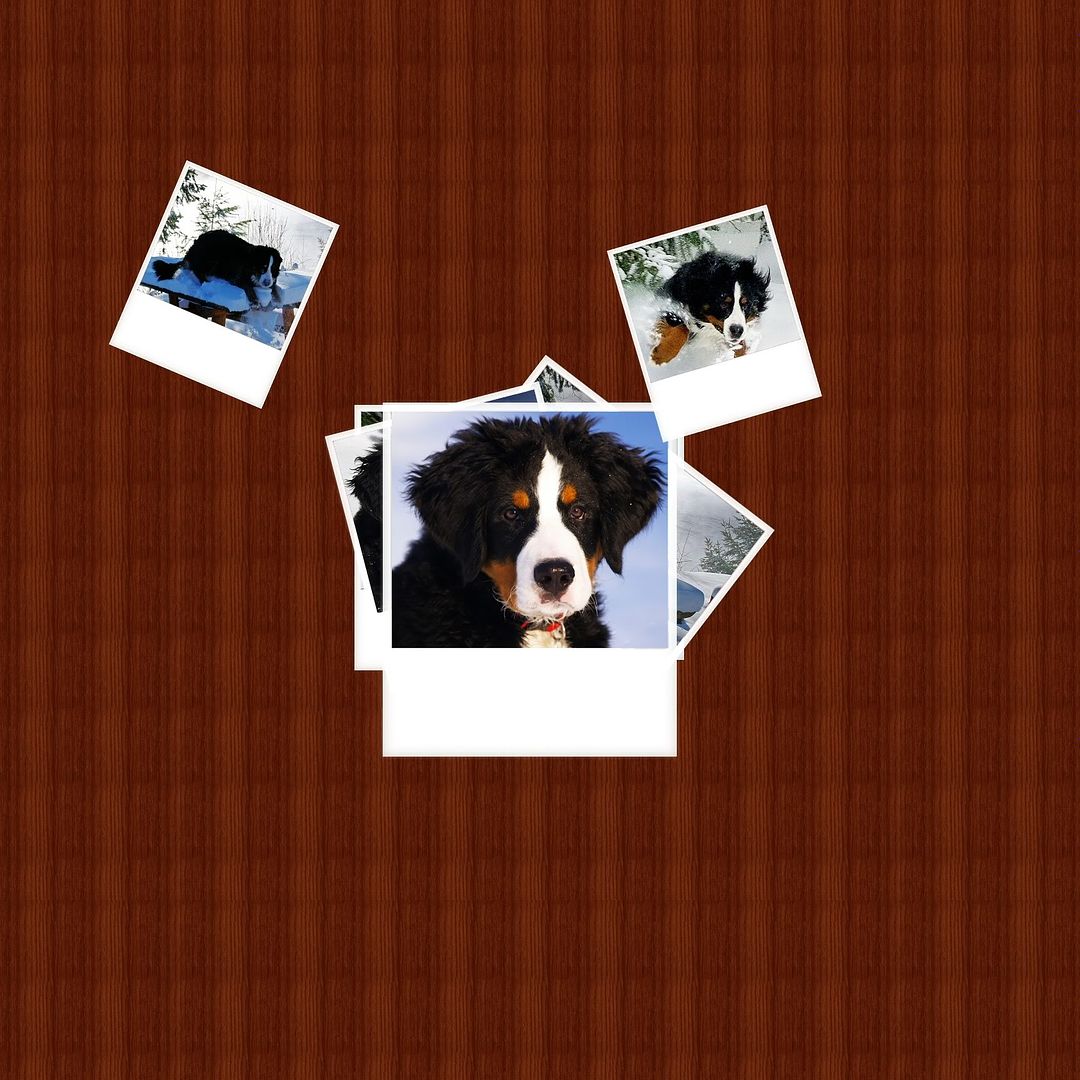
You should have something like this. I decided that I wasn't happy with the arrangement of my frames from the previous example, so I copied one and moved it out to add another on the bottom corner.
9. Put captions on the visible white portions of your frames. You can choose a handwriting font, or if you have nice handwriting, you can write on the frames directly with a small, soft round brush. I used the font Rage Italic.
10a. Put a larger text caption on the bottom. Your stroke color should be black. Background color will depend on the kind of shading you want. I just used black. I used the font Algerian at 150 py.
10b. With your large text layer highlighted, go to Selections>Select all, then Selections> float. This will highlight just the text.
10c. You'll have a new layer in your palette called "floating selection." Right-click on this layer and choose "promote to raster layer." It will be re-named to "promoted selection."
11. With the promoted selection layer highlighted, go to Effects>3D Effects> Cut out. These are my settings, but experiment to find what you like.
Vertical offset: -30
Horizontal offset-30
Opacity: 57%
Blur:40
Shadow color: #FFFFFF
Fill interior with color not checked.
12. Create a new layer under the cut-out and flood fill the selected area with a pattern of your choice. I used the wedgewood pattern that comes with PSP.
13. Repeat the process cut-out process for any other embellishments you want to add. For the snowflakes, I used a font called Snowflakes TFB, which you can get here on dafont.com.
14. Add drop shadows to your text and embellishment layers for more depth.
Here is my finished product.

Feel free to comment to show me yours. I hope you found this useful.
Index|Part 1|Part 2
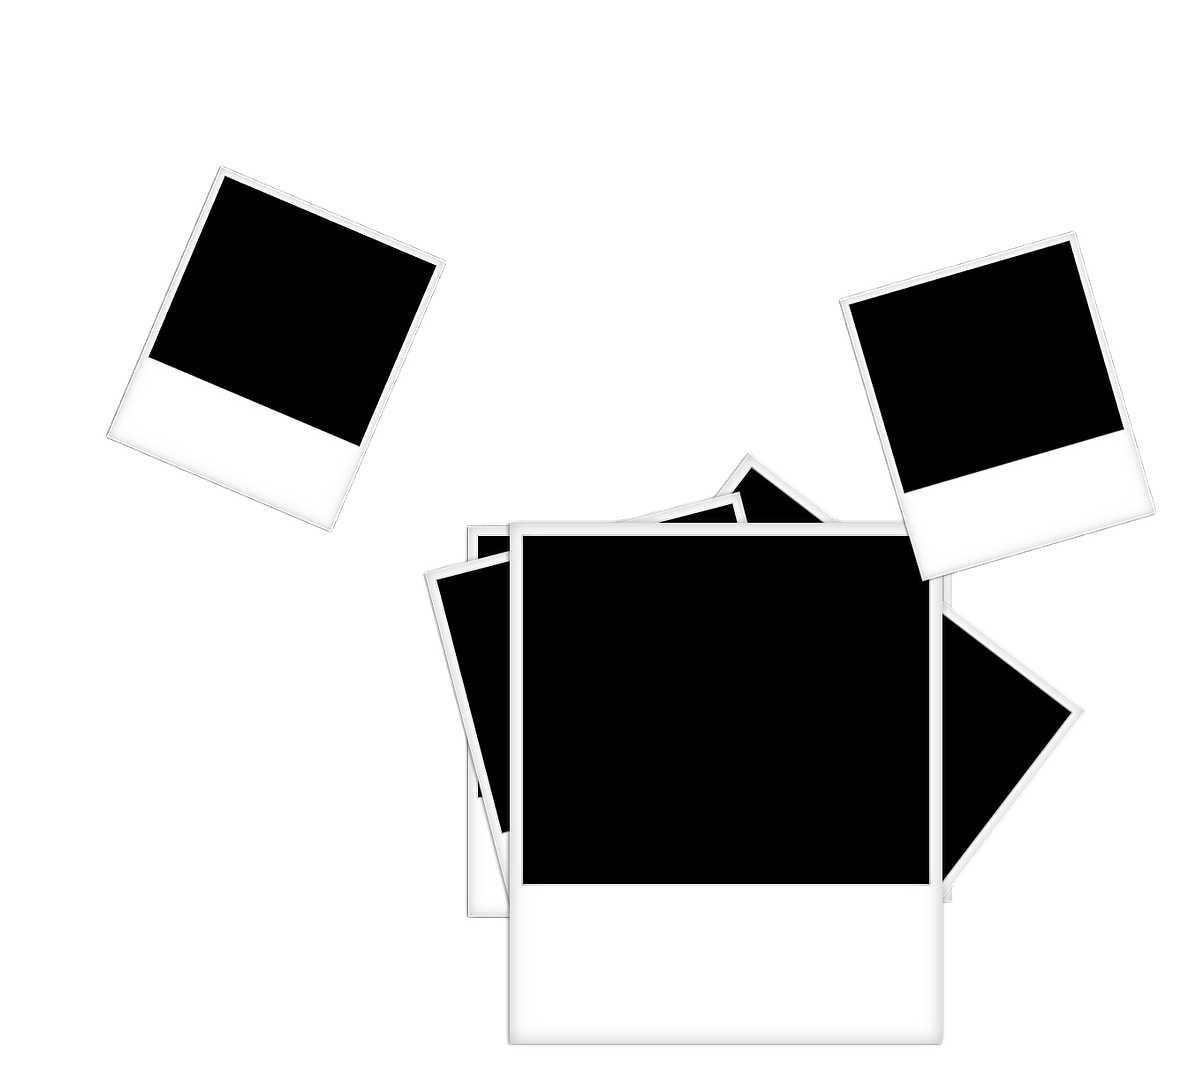
For anyone who'd like them, here are my wood background and photo frame stack at a higher resolution:

No comments:
Post a Comment